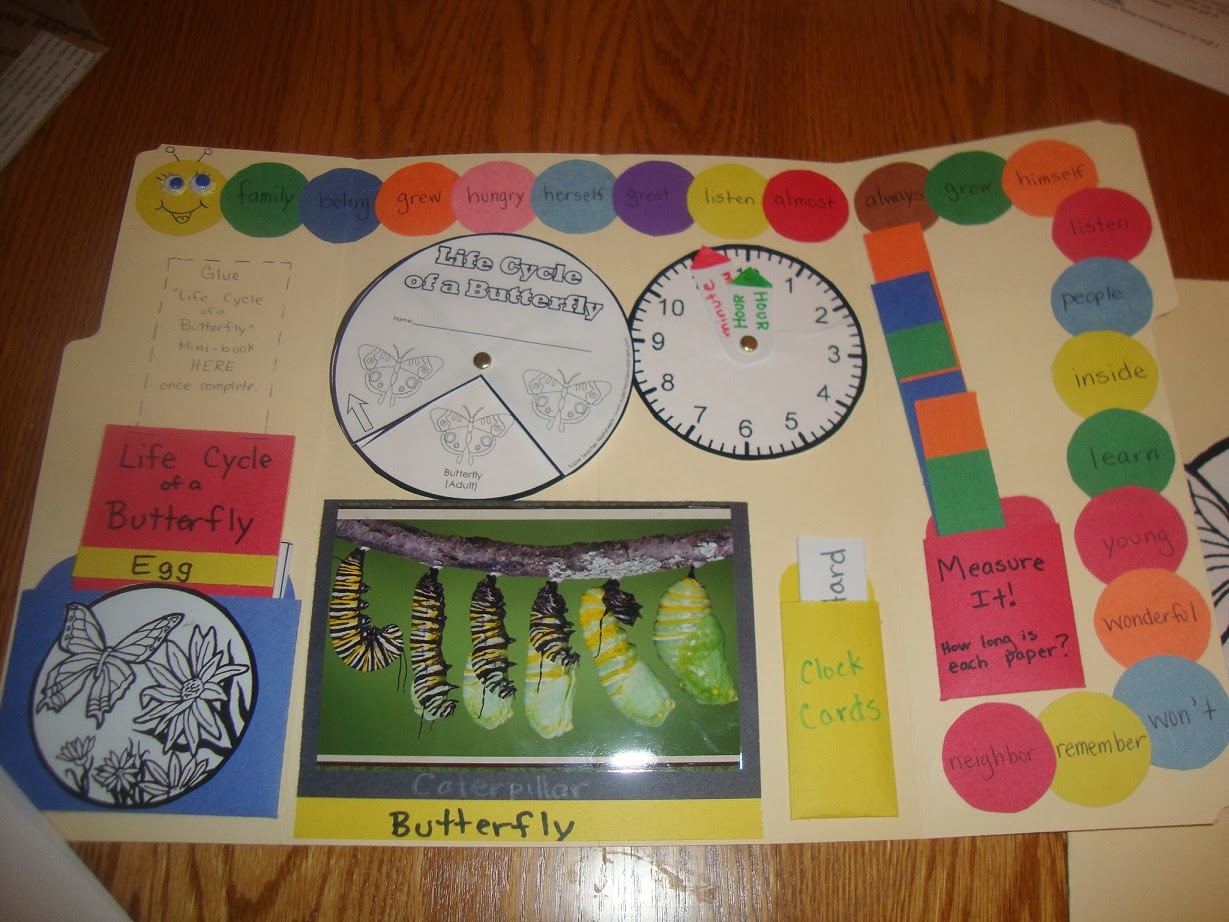
Showing posts with label lapbook. Show all posts

Sunday, June 28, 2015

Bobcat Badge Lapbook

***Revised Jan 24th, 2016: After many requests for these printables, I have made them available online on my TPT store. They are free and include a printable mini storybook to go with it.
For the Storybook go HERE.
For the rest of the printables to make the lapbook go HERE.
DOWNLOAD HERE
Also, if you don't have access to the extra pamphlet, go HERE. 
***
My son is now a scout. How did this happen? I swear he was just a baby last week. Yikes!

I have a confession. I know NOTHING about scouting. Yes, nothing. Nada. Zip. Zilch. Zero. Nothing.

And then I found out that the whole scouting program was changing just as my son is starting. So, the leaders are not really knowledgeable about the program or the requirements. Great.

I am not comfortable knowing nothing and having no one else really know what they are doing either. I decided to take it upon myself to actually read the manual. Weird, I know. This whole badge thing seems pretty straight forward. 

We are starting in the beginning with the Bobcat rank. I decided to make a lapbook to have a visual for all the requirements for Bobcat. My son really learns from lapbooks and they are nice to keep for future kids too (like his younger brother who is still a baby--and I want him to stay that way). Without further ado, here is the Bobcat lapbook, in picture form.

 This is the front.
The inside as a whole.  
I don't have close ups of the Scout law (black far left center) or
 the exercises out of the booklet (yellow far right center). 
I simply printed those and stuck them directly to the lapbook.
#3 Just a foldable book.
 Inside of foldable book.
Red pocket with a copy of Scout Oath and Scout Law.
I am making a game out of these, but that is another post for another day.
#4, matchbook style
 Inside with meaning and picture.
 This was an extra that was not really part of the Bobcat badge.
Since I know nothing about scouting and the manual kept referring to Akela, I looked it up. The old manual told a whole story about Akela and the meaning behind the term. The new manual doesn't explain it. I found a printable version of the story and made a cute little book to read to my son. He needs to know this stuff too.
I found a pdf of the old wolf manual.
Click on THIS and print pages 14-19.
I printed 4 pages per sheet. I used construction paper, glue, and staples and made a book.
 Front of the book
 Two of the pages. It ended up being 6 pages long.
My son liked listening to the story and understanding the term.
#2  This is a nice break down of the Scout Law.
Each of the character traits is defined underneath.
 This is a poor picture of the front of the Scout Law spot.
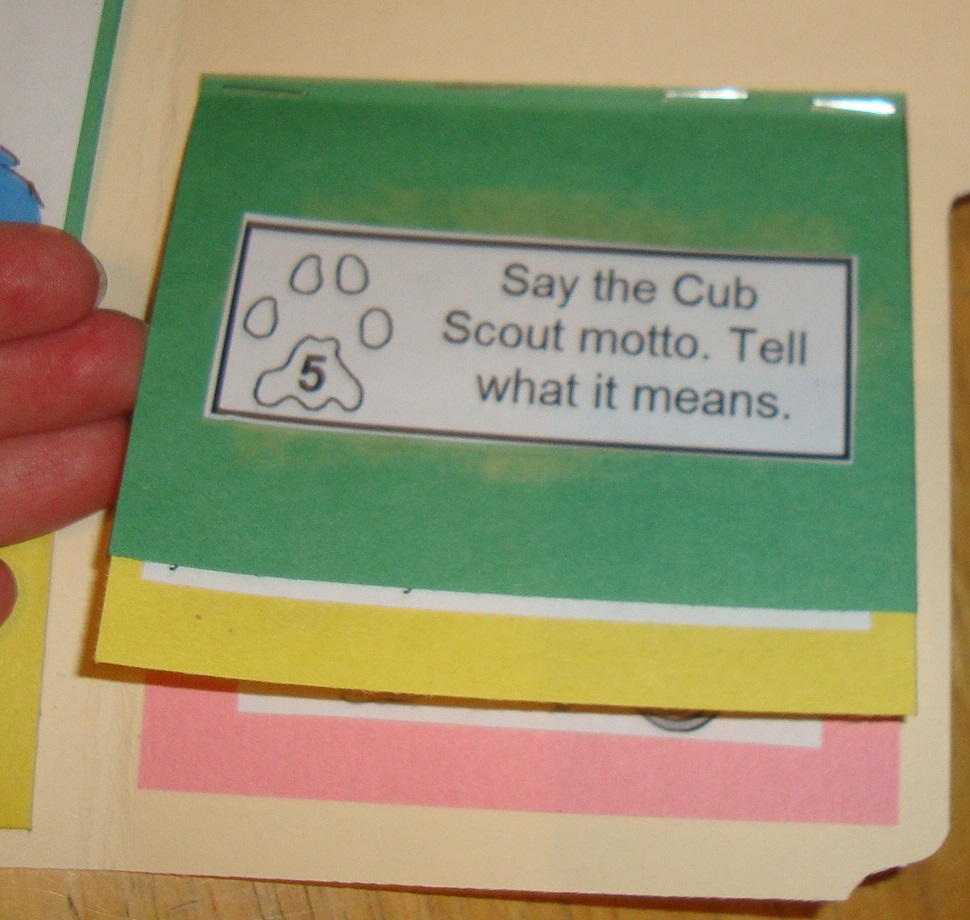
 #5 Cub Scout motto. This is a layered book.
2nd page of layered book has the meaning. 
The last page of the layered book is the motto with picture. 
#6 Cub Scout salute is a book with tabs. 
 2nd page of Cub Scout salute. This has the meaning.
This picture also gives a nice close up of #7.
It needs to be done outside of the lapbook, but needs a reminder here.
 last page of Cub Scout salute with picture.
 This is just a fun book with the Scout Oath on top.
The inside of the Scout Oath book.
I am going to take a picture of my son in his uniform and
put it in the inside page. It will be fun to see how much he will grow.

In case you missed the note on the top, the free printables can be found at the following links:
For the Storybook go HERE.
For the rest of the printables to make the lapbook go HERE.
Also, if you don't have access to the extra pamphlet, go HERE. 

So, here is the whole lapbook. If you have questions, just leave me a comment.

Tuesday, March 4, 2014

English Essay Lapbook

 I did a favor for a friend and made her a lapbook for
language arts (English). This is more for the high school,
possibly college level writer. Even I learned a thing
 or two making this. I love it when that happens.
 Here is the inside.
I have a more detailed list of what each mini book is below.
 Another view of the inside. 
So, here is the breakdown of the lapbook:

1. 4 Types of Essays: Narrative, descriptive, expository, and persuasive. Each tab had a little explanation about that type of essay.


2.  Run-on Sentence cards: I made cards with run-on sentences and stuck them back to back and laminated them. They can be corrected using a white board marker many times for practice. I also made "correcting cards" to help understand how to correct a run-on sentence.


3-5: I made an outline for a 5 paragraph essay with
specifics on how to break it down into manageable pieces.

3. Introduction paragraph: This is broken down into three parts: Hook, Body, and Thesis Sentence.

Hook: Something catchy that makes your audience
pay attention to your topic. This is usually just one sentence.

Body: Review the main reasons why your topic is important and
which will be reviewed in the body of the paper. You can also
give necessary background. This is usually 2-4 sentences.

Thesis Sentence: the controlling statement that serves as
the backbone of the paper. Try to make this just one sentence

4. Body (3 paragraphs): This section is to help move the essay along and give more information. Each paragraph should be written using the S. E. E. method.

Statement: A topic sentence states a paragraph’s main
idea. When answering a question or responding to a prompt,
make your answer or response part of your statement.

Examples: Also known as supporting sentences, strongly
support the topic sentence and form the support every
paragraph needs to have. Whenever possible, directly cite a
published source to provide the necessary examples to support
your paragraph’s topic sentence or statement.

Explanation: Closing sentences which bring your paragraph
to a logical conclusion by clearly explaining how the cited
examples strongly support and prove the topic sentence.

5. Conclusion: This is broken up into three sections: Restate thesis, summation, and concluding sentence.

Restate thesis: Restate your original thesis to remind
the reader of where you started and the point of this essay.

Summation: Tell the reader what they should have
learned in this essay, why it is significant, and how
it relates to the real world.

Concluding sentence: The is the final thought. This is
a chance to leave the reader with something to think about.

Close-up of the middle blue match-books.

6. You may be noticing that the center of the lapbook looks like I just duplicated everything. You would be kind-of right. The left side has the explanations and the right side has empty lines with one word or letter to help prompt the writer. This is meant to be a worksheet to help write one essay.

7. 4 Kinds of Sentences: Statement, questions, command, exclamation. After reading online, these names are the easy version with the real names being fancy words that I will never repeat. So, I stuck with things I would understand and called them the easy names.

Statement: A Statement sentences tells about something.
It ends with a period.
Example: She ate pizza for lunch.

Question: A questions asks something.
It ends with a question mark.
Example: How are you?

Command: A command tells someone to do something.
It ends with a period.
Example: Eat all your vegetables.

Exclamation: An exclamation shows strong feeling.
It ends with an exclamation point.
Example: I just won 100 dollars!


8. A fun pencil-shaped book for punctuation. Don't be fooled into thinking this book will teach you about punctuation, but rather it is a fun add-in. It has examples of sentences that have different punctuation that change the meaning. Please see the example above. Punctuation can save lives! he he

So that is my attempt at teaching language arts. Hopefully, by the time my kids get that age, I will get better at this.
~Possum

Saturday, February 15, 2014

Butterfly Lapbooks

 I thought I would share the Butterfly lapbooks I made for my kids.
The one on the left is for first grade and the one on the right is preschool/kindergarten level.
Keep in mind that these are the duplicates I made for my sister's kids.
 This is the 1st/2nd grade level lapbook cover. There is a diagram of butterfly parts on the top.
The butterfly ballad (song) is in the green border. I got that from SuperTeacherWorksheets.
The red pocket contained pictures of butterflies for a game inside.
 This is inside the folder.
There is a life cycle of a butterfly circle that turns to reveal each stage in the cycle.
I found this on Super Teacher Worksheets too.
The strips of paper on the right are for practicing measuring.
Each strip is to the nearest inch or nearest centimeter. 
The life cycle of a butterfly flip book (red and yellow book on left) is for each stage in the life cycle.

The caterpillar has sight words and I made a set milk jug lid sight words to match.
This is a simple matching game of matching sight word to caterpillar.
And this is only a few sight words, not all of them.
See below for the lids and painted box I made to go with this.
Notice I made a set of numbers and capital letters to go with this too.
 Here is another view of the inside of the 1st/2nd grade folder.
The book I'm holding up in the picture is just pictures of the
progression of a caterpillar to a chrysalis and the coming out of a butterfly. 
I found those online by using a search engine (keyword: butterfly metamorphosis).
A great site is TheButterflySite.com.
Look up their life cycle page for these photos.

The cards on the left are what was in the blue pocket.
They are sequence cards of the stages of a butterfly.

The clock cards are on the bottom right and go with the clock face.
 I cut up a large index card into strips and put three different times on them.
I put three times that are easy, medium, and hard.
 This was a stand alone sheet that I laminated and stuck inside. 
This has room for math problems that can be used with a white board marker.
It can be erased and used many times.
 Here is the back side of the laminated sheet.
This is to be used the butterflies that are in the red pocket
on the front of the lapbook. The game is to pick several butterflies
and sort tally up how many have a certain color.
Then graph the results on the graph below.
 This is the inside of the Pre-K/K lapbook.
I made a caterpillar with lower case letters of the whole alphabet.
I made matching lids with capital letters to match for tactile work on letters.

I have a colors book on the left that is a flip book for the rainbow colors.
The book below is for the basic shapes and is also a flip book.

I made sequence cards, life cycle circle, and easy clock cards like the other folder.
The red pocket contains number practice cards. See below for more information.
These are the counting cards and I made a set of lids
that have the numbers 1-10 on them to go with these.
I used a butterfly stamp and different colors to make these.
I made a set of lids with each stage of the butterfly cycle for tactile arrangement too.

If you want to see the rest of the butterfly unit, check the label "Butterfly unit."
~Possum